Happy Monday, guys. Did everyone have a good weekend?
Ours was exciting, long and exhausting. We closed on our house on Friday and spent the entire weekend demo’ing all of the hard-surface flooring in the house. In case you missed it, check out my post on our flooring situation.
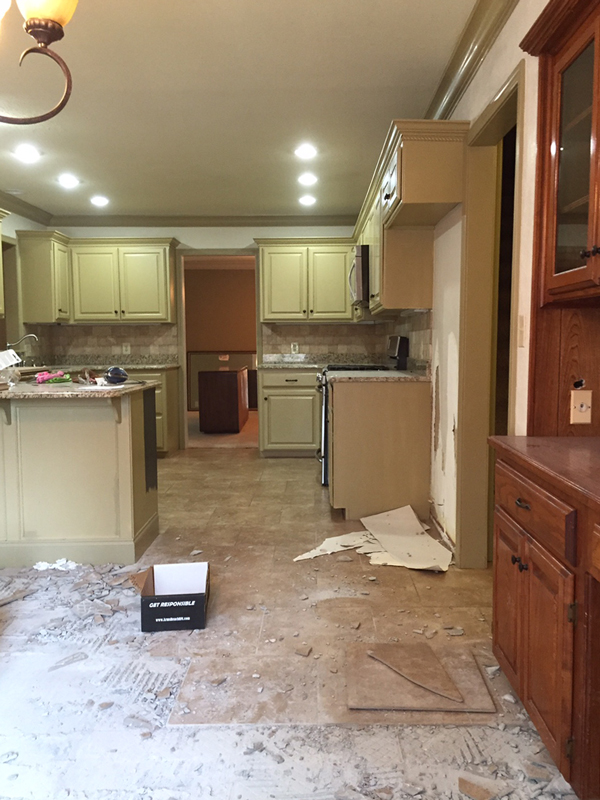
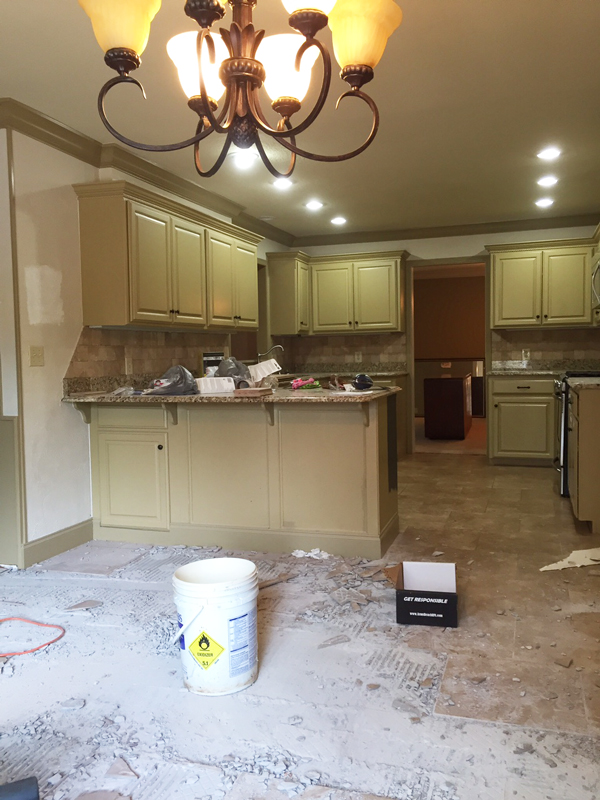
Unfortunately, I didn’t take any “before” pictures of the kitchen before we started demo’ing. This is what it looked like shortly after starting. Goodbye, Tuscan tiles!
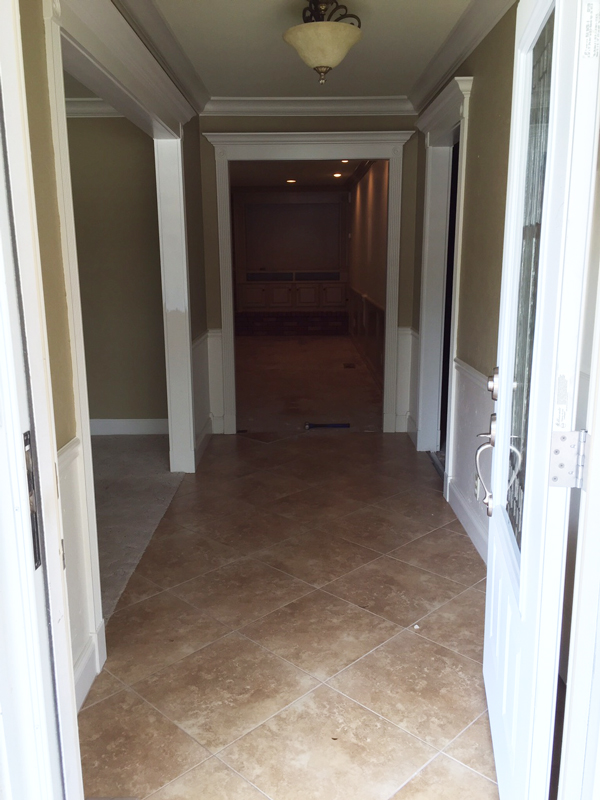
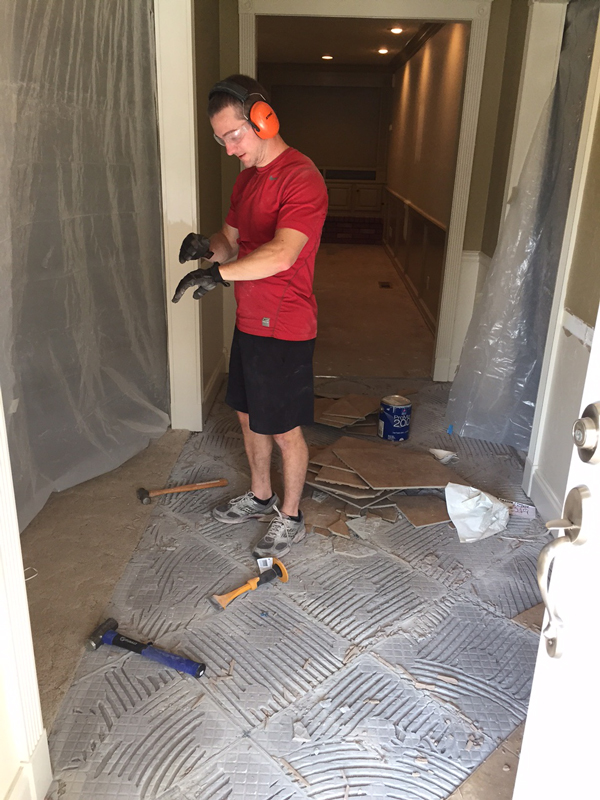
Here’s the entry-way in all of it’s diagonal glory. I think sometimes people think, Maybe if I lay the tile at an angle, it will look more expensive. Not so, people. Not so.
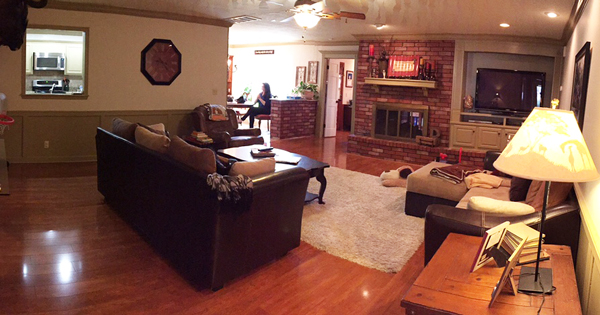
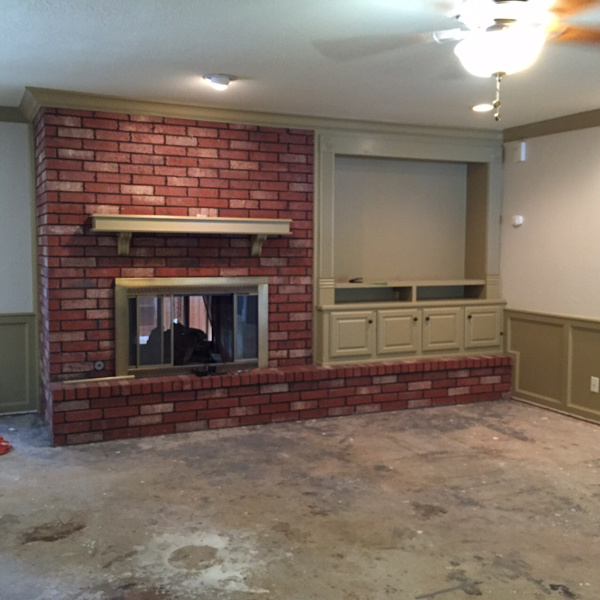
And the laminate floors in the living room, study, and hallways. Those had to go.
There are two main reasons we decided to do the demo ourselves: 1) It would save us about $2-3K (on the low end) in demo costs. We would’ve had to pay the flooring guys to not only demo, but dispose of, all the old flooring. 2) We knew we could.
I’ve heard horror stories upon horror stories about the ills demoing your own tile. But there’s just something to wanting to experience those “ills” for yourself. Also, the tiles measured 12″x12″, which means the likelihood of their coming up in one piece, if done right, was high.
So, we decided to give it a shot. I’m so glad we did. Here’s how we did it:
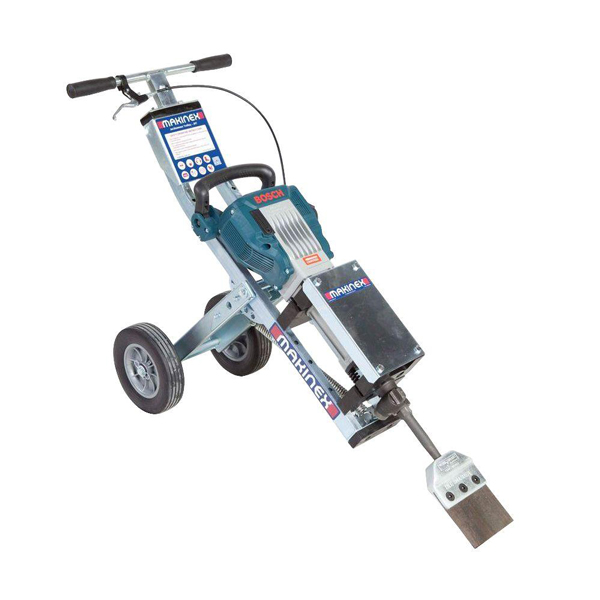
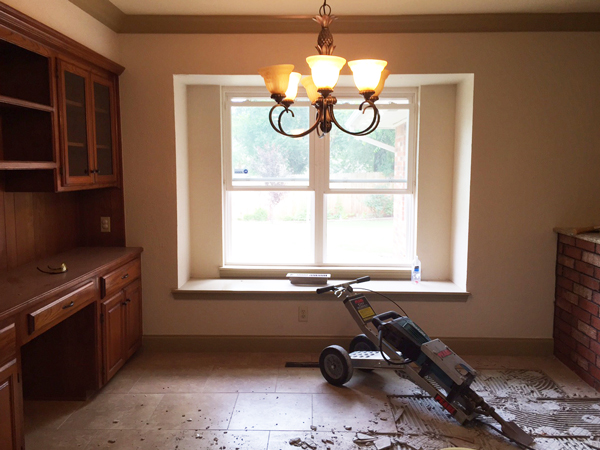
After some extensive online research, we decided to rent this jackhammer trolley from Home Depot for about $150, and used it to demo a majority of the 800 square feet of tile. Without this guy, I think we would still be demo’ing the floors.
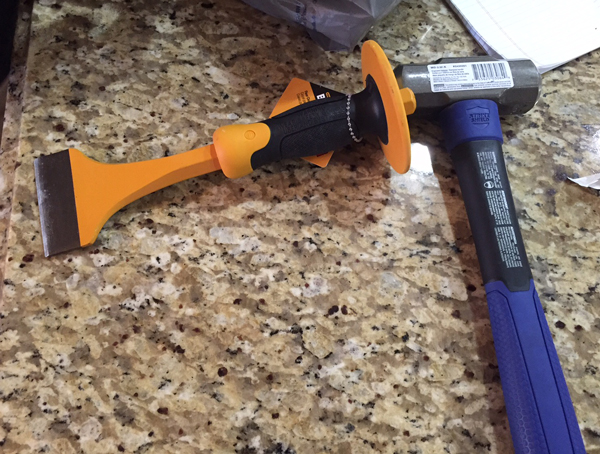
I also purchased this hand chisel and a mallet (similar to this one) to remove the tile in the entry way and in hard-to-reach places in the kitchen, like under the cabinets and around the kickplates.
Most of the pictures don’t show this, but I sealed off the doorways with plastic drop cloths to help trap the dust. I strongly recommend doing this. Honestly, I am so glad we are doing this on the front end of things because tile demo is so damn dusty. Anyone who has demo’d tile before knows that you will find dust accumulating for months afterward, and in random places like your sock drawer.
Also, I highly recommend buying dust masks, protective eyewear, and some rubber gloves.
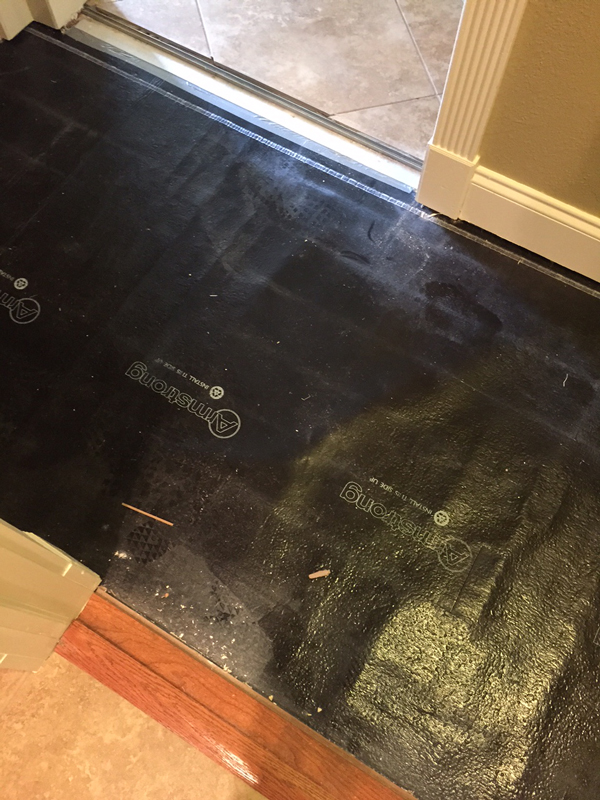
This was what was under the laminate floors when we removed them. The laminate was tongue-and-groove, which means the planks literally float above the floor. No nails, no glue. The boards just pop right off.
And that was that. Our next step is to order the hardwood floors and allow them to sit in the house for 10-12 days to acclimate to the humidity in the house. More on that to come.

